Every once in a while we like to get back to basics with some installation tips. If you are new to installing TRIFORCE®, these guidelines will help you transition from what you were using before.
For those of you that are already using this great product, there’s no harm in going over a quick refresher in case you were missing something…
Simple design, easy to work with

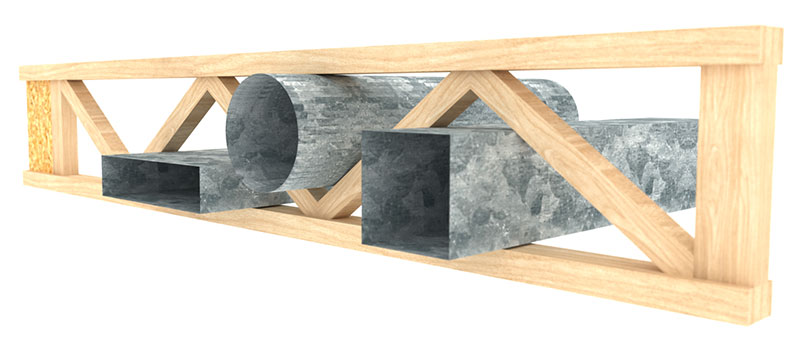
You’ll find TRIFORCE® quite easy to work with. It has a simple, elegant design. One end is adjustable up to 24 inches and the rest of it is basically open web. A lot of builders tell us that once they switch to an open web configuration, they don’t miss all that hole drilling nonsense they had to put up with when they used I-joists.
So, here are the tips.
1- Check the orientation of the joist
The bottom of the TRIFORCE® is clearly identified. The joist is designed to resist compression at the top and expansion at the bottom.
2- Line up the webbing
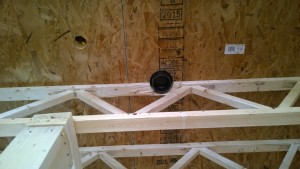
Maximise available space and minimize deviations in your ducts, plumbing, and electrical runs by lining up the webbing. Simply choose the straitest plane between your outside wall or interior beam and install the non-adjustable end joist on it. Adjust the other end accordingly. You’ll find this makes your mechanicals installations so much faster and easier.

3- Space the joists as uniformly as possible
Use 12″, 16″, 19.2″ or 24″ o.c. depending on your load requirements. Even spacing makes the gluing and nailing of the floor membrane easier, but also to give the occupant a consistent experience throughout the floor area. Keep in mind that 24″ usually corresponds to a value approach to floor construction. We’ve found that 16″ or 19.2″ o.c. spacing increases the perceived value of the floor because it reduces the amount of possible deflection and vibration.
4- Double up where you have to
When encountering situations like stairwells, or other areas where an additional load is expected (exercise areas or kitchen islands, for example) TRIFORCE® joists can easily be doubled up. see our previous blog on stair girders.
5- Confirm plumbing and HVAC locations before installing TRIFORCE®
That said, It is always preferable to identify the location of the plumbing and HVAC runs as early as possible in the design stage so these kinds of situations can be avoided.

6- When installing TRIFORCE®, apply all bracing and sheathing before loads
Apply all necessary bracing and sheathing to each open joist, before applying construction loads on the floor system. If you do need to stack building materials on your floor, make sure they are over beams or bearing walls only.
